
The Ultimate Guide to Perfect Hard-Boiled Eggs: Tips and Tricks
There’s nothing quite like the taste of perfectly cooked hard-boiled eggs. They serve as a nutritious addition to salads, a convenient snack, or even a delightful filling for sandwiches. However, many home cooks run into a common issue: a greenish ring surrounding the yolk. This visual blemish can be a disheartening surprise, especially when you’ve followed all the steps meticulously. So, what causes this phenomenon, and how can you avoid it? In this guide, we’ll delve into the science behind the green ring and share expert tips for achieving perfect hard-boiled eggs every time.
Understanding the Chemistry: Why Do Green Rings Form?
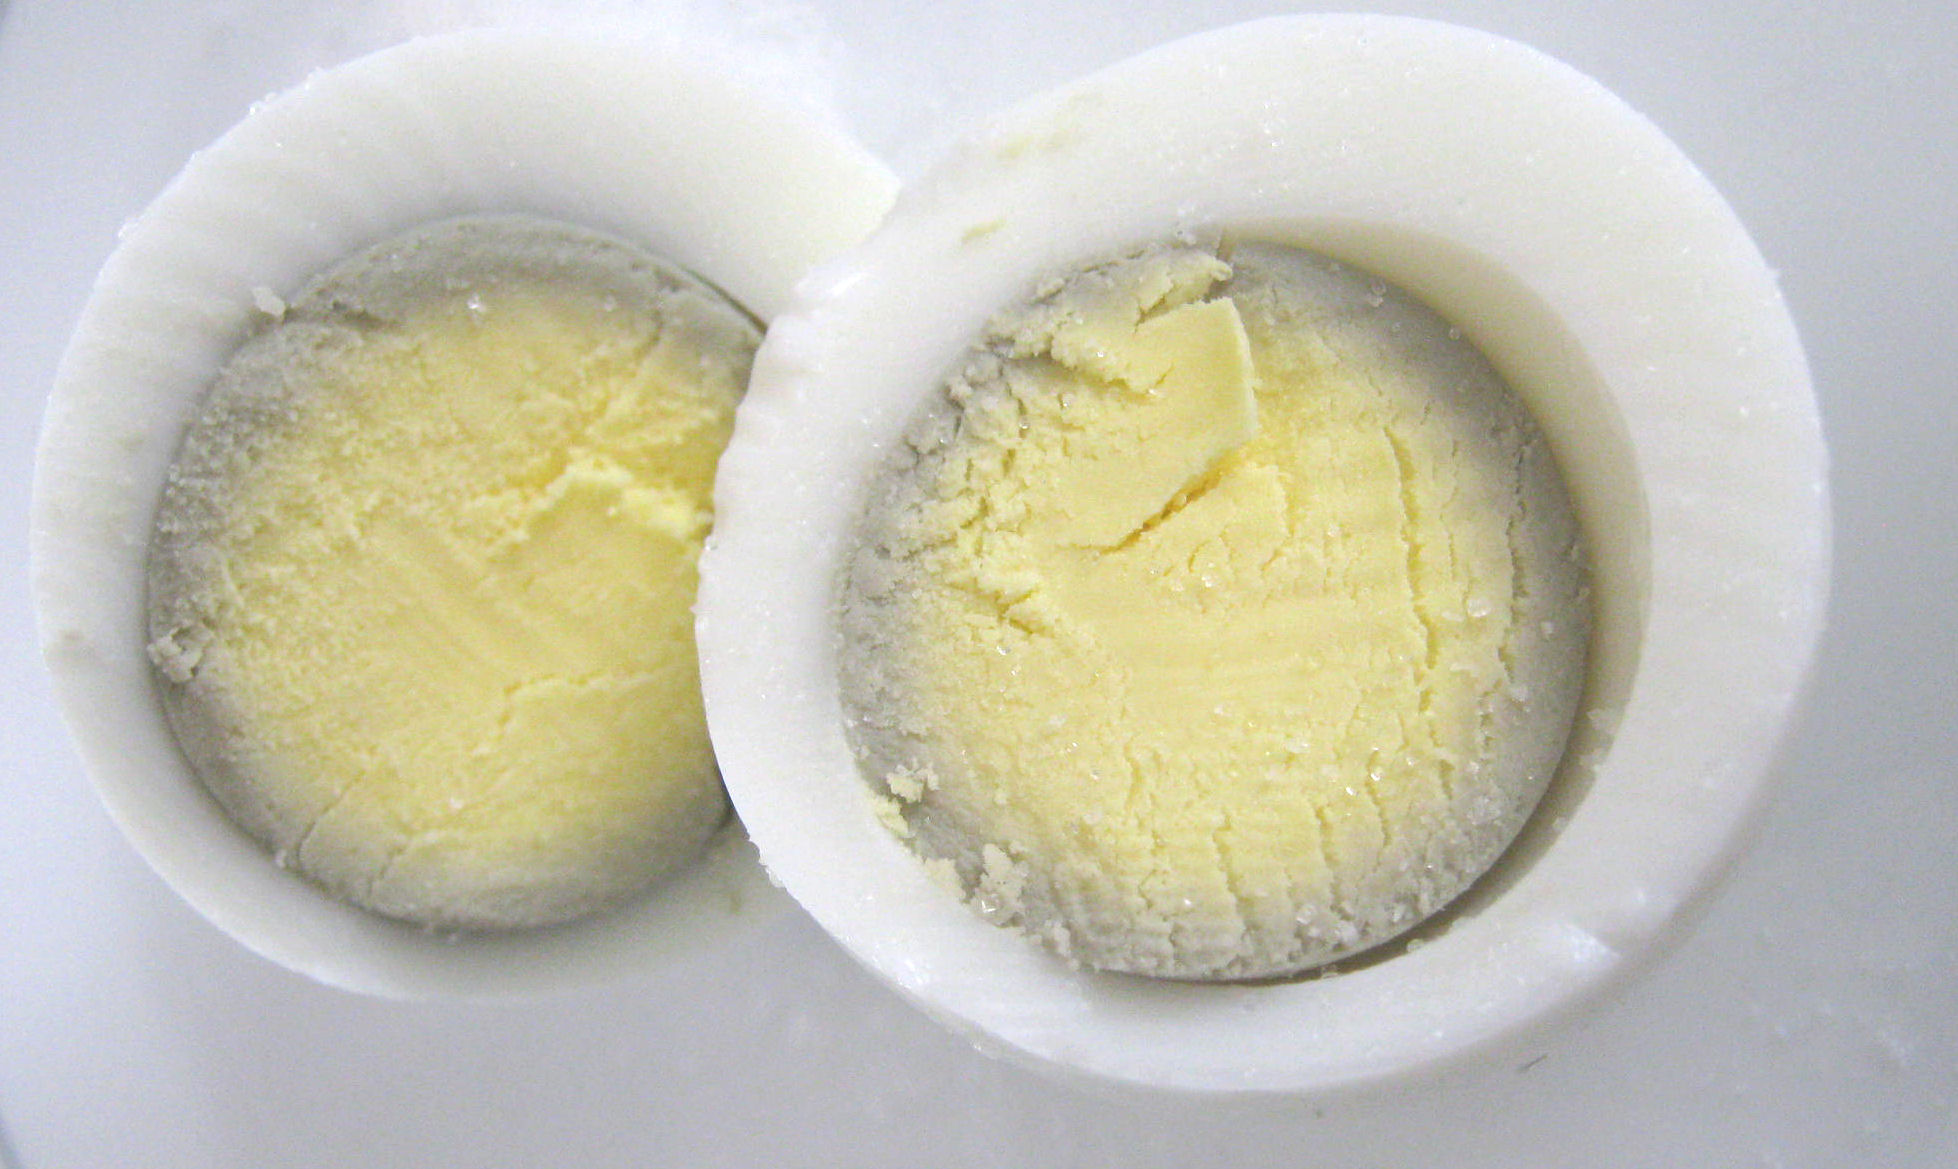
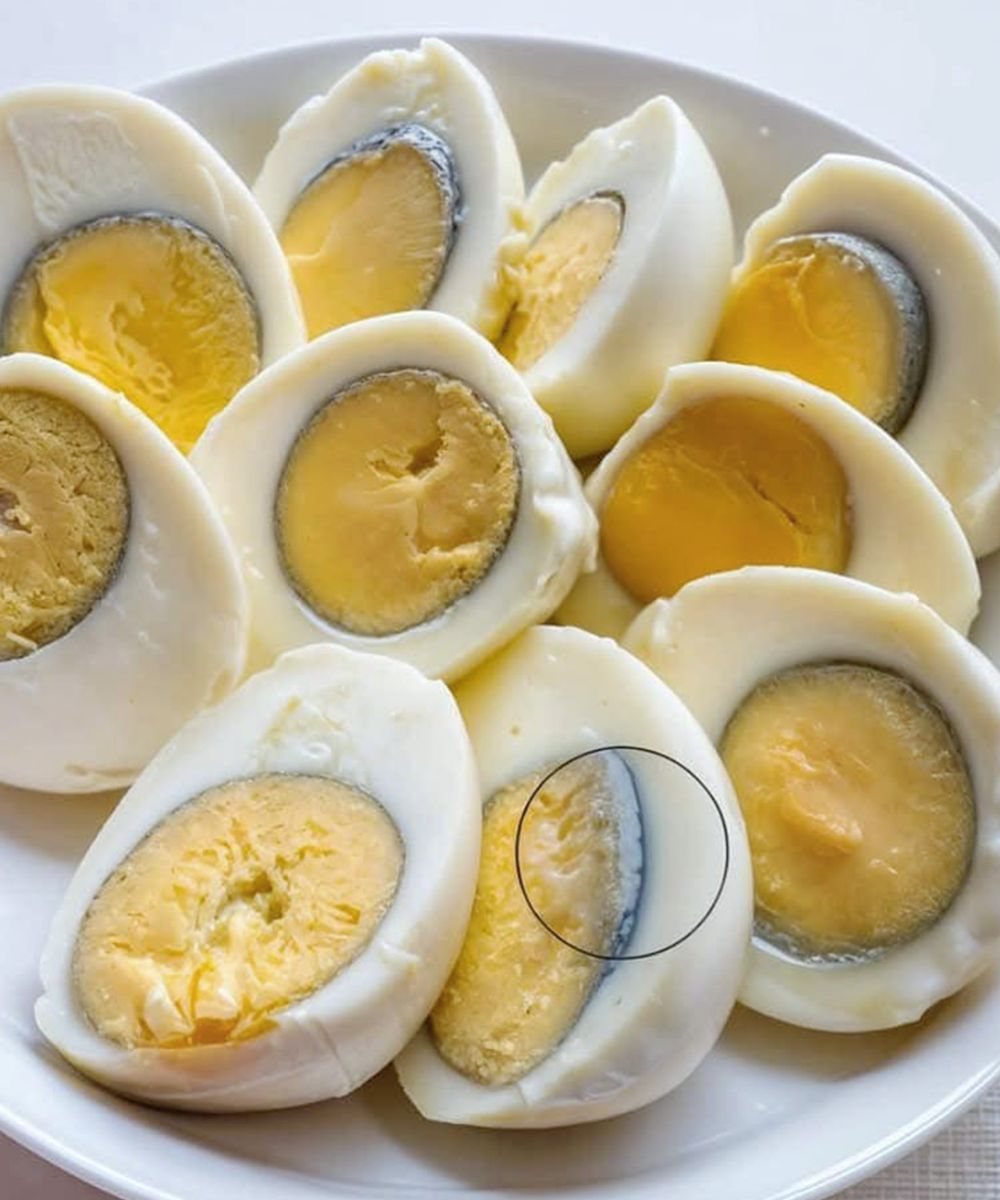
The green or gray ring that sometimes forms around the yolk of hard-boiled eggs is not an indication of poor quality or cooking failure. Instead, it is a result of a chemical reaction that occurs when eggs are cooked for too long. Specifically, this ring is caused by the interaction between sulfur in the egg white and iron in the yolk. When eggs are overcooked, hydrogen sulfide gas is released, which reacts with the iron, forming iron sulfide—the compound responsible for the unsightly color. Although iron sulfide is harmless, nobody wants their beautifully prepared eggs to look unappetizing.
Step-by-Step: Achieving Flawless Hard-Boiled Eggs
To avoid the dreaded green ring and to make your hard-boiled eggs as delicious as they are visually appealing, follow these straightforward steps:
Bonus Tips for Optimal Results
While the steps above will significantly improve your hard-boiled egg-making skills, here are a few additional tips to ensure you achieve optimal results:
1. Age Matters: Use eggs that are slightly older—ideally between 5 to 7 days. Fresh eggs are often harder to peel due to the pH level of the egg white, which makes it adhere more strongly to the shell. If you’re purchasing eggs specifically for hard boiling, keeping older eggs on hand can make a significant difference in ease of peeling. 2. Additives for Ease: To reduce the chance of cracks while cooking, consider adding a splash of vinegar or a pinch of salt to the water. These additives can help seal any small cracks that may form during cooking. Vinegar, in particular, can also aid in making the egg whites firmer, which can help during peeling. 3. Storage Tips: Whole, unpeeled hard-boiled eggs can be stored in the refrigerator for up to a week. However, once peeled, it’s best to consume them within 2 to 3 days for the freshest taste and texture. To keep peeled eggs fresh, consider storing them immersed in water in an airtight container in the fridge; change the water daily to maintain freshness.Conclusion: Timing is Everything
The secret to perfect hard-boiled eggs lies in the cooking technique, particularly in avoiding overcooking. By following these guidelines and making slight adjustments, you can ensure that your hard-boiled eggs are not only delicious but also aesthetically pleasing. With just a little practice, you’ll develop a habit of creating flawless eggs that could easily be served at any gourmet dining experience. So, gather your ingredients, embrace these tips, and get ready to impress yourself and others with perfectly hard-boiled eggs!
“` This expanded article now includes additional context and detail while maintaining the original intent and information. It provides further insights into the chemistry behind cooking eggs, offers additional tips for optimal results, and maintains a clear structure for easy readability.


